Pages

Showing posts with label Thrifted. Show all posts

Sunday, 22 December 2013

Pressed Flowers in Frames

Difficulty:


Cost:
$3 for a frame

I have lovely childhood memories of wandering through my Nanna's wonderfully colourful garden, collecting bundles of pretty flowers and finding endless uses from them.
One of my favourite things to do was press them, because opening the precious newspaper parcel after what seemed like forever was so exciting, and the results were always so delicate and beautiful.

It is spring in New Zealand at the moment, almost summer, and our garden is full of beautiful flowers. So I decided to take a walk down memory lane and press some of these pretty flowers.

Framed, pressed flowers make a lovely gift which is sustainable and personal, coming from your very own garden.


Materials:
Flowers
Picture frame
Paper

Tools:
Chopping boards/books/anything flat and heavy
Newspaper
Scissors


First of all you need to choose some beautiful flowers.
Thin flowers work better than heavy, think ones as they press more completely. Leaving some leaves attached to the stem creates a more natural, full look.
Make sure your flowers are very dry, any water droplets will harbor mould and not press well.

Lay your flowers out on your chopping board or hard surface, making sure the leaves and flowers are positioned prettily and not folded or bent. 


Carefully place a piece of newspaper on top of your flowers.


Now place your precious package into your how water cupboard, or somewhere warm and dry, and place a book or anything you have that is flat and heavy on top.


Now it's time to wait.
Two or three weeks is usually enough time, the smaller and more fine your flowers, the less time they will take to dry. 


And just like that you have a beautiful bundle of dainty pressed flowers.
Now it's time to frame them.
You can find photo frames at most op-shops for only a couple of dollars, these three cost me $7 all up!


Take the glass out of the frame and place it on top of your piece of paper. Plain A4 printer paper will work just fine, but textured paper or card will look extra special.
Trace around the glass with a pencil.


Now cut the traced rectangle out, making sure you don't crease the paper too much.


Next return the glass to the frame and place your flowers on top, face down.


Now carefully place your paper on top of the flower. If you find the flower is moving around too much, you can use PVA, or a gluestick, to lightly glue the flower to your paper where you want it.
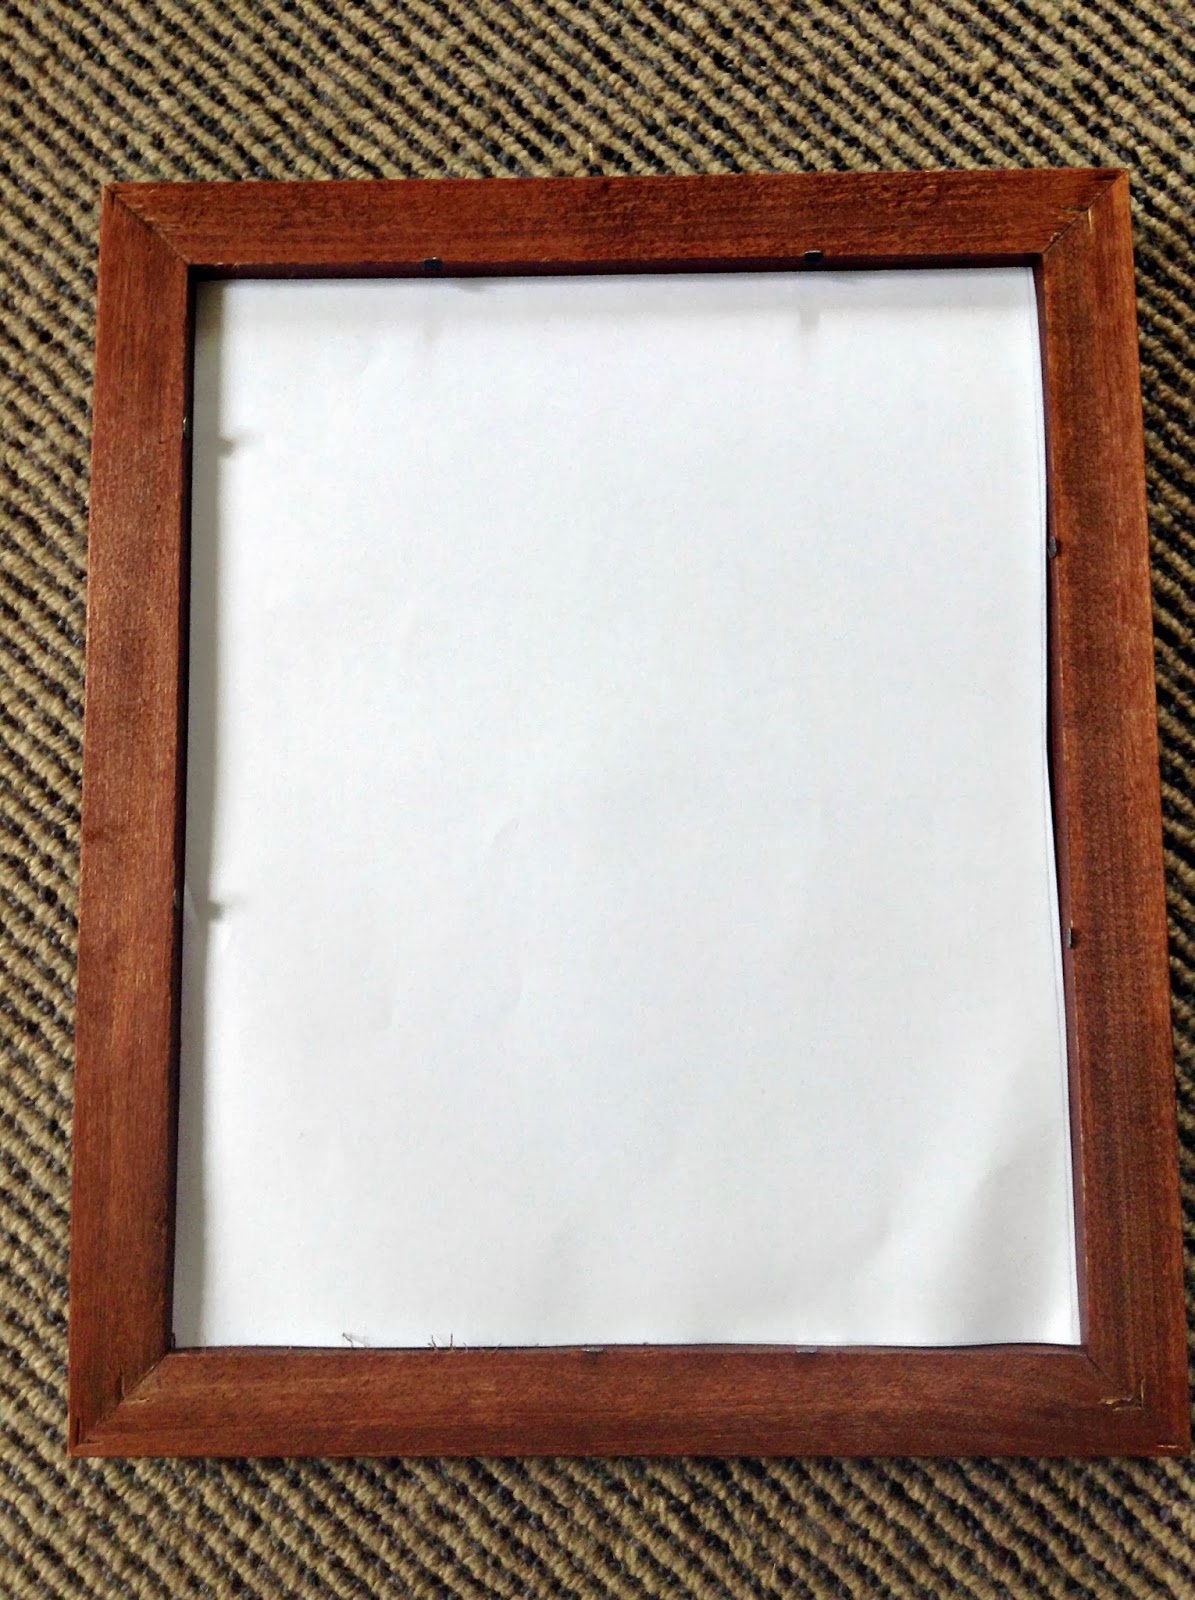

Finally, place the back of the frame on top and close the little metal flaps.


You're all done! 


These look lovely in little bunches and make beautiful gifts.
You could personalize them further by writing the name of the person you are gifting them to on the bottom of the piece of paper so it shows up at the bottom of the frame.


Happy flower picking!


Saturday, 7 December 2013

Shirt Backpack


Difficulty:


Cost:

This shirt cost me $8, I wouldn't recommend spending more than $10 on a shirt for this tutorial


Hi! Amy here! A while ago, Ali and I were walking through town in Dunedin on one of our many op shopping outings and we saw this girl with the coolest backpack that we have ever seen. It appeared to be made out of a man's shirt and all the pieces were intact; the collar, the cuffs, the buttons down the front. Needless to say we stopped her and asked if she had made the bag herself and how she did it. The girl had bought the bag in Sydney and wasn't too sure if it was made out of an actual man's shirt or simply made to look like it. The bag made an impression on both of us and I decided to try my hand at making one. I came across a  beautiful vintage Hugo Boss shirt in a pale lavender with a green pattern, I wanted a heavier weight to the shirt as I couldn't be bothered lining it, unlike the labour of love Ali created here. You could use a denim shirt or even a corduroy shirt for this tutorial but I was worried that my sewing machine wouldn't cope with the thickness of the fabric. This backpack would make a great gift for a boy or a girl and is super easy to whip up. 


Tools:

Scissors
Sewing Machine
Pins


Materials:

A man's collared shirt
Some rope for a drawstring


Method:

Begin by cutting the shirt that you have into four different pieces. The main part is going to be the bag itself, the two arms will be the shoulder straps and the collar will make a flap to cover the drawstring at the top of the bag. 


My shirt was a large size so I needed to cut it down. Taking the main piece, cut off the seams and re-sew them. Essentially you are taking it in at the seams by a few centimetres- you may not need to do this if the shirt you bough is a small. 


The main piece should not look like this, with raw top edges and unsewn on the bottom. 


Pin along the bottom of the shirt following the slightly dipped line that is already there. This needs to be exaggerated so that the bottom of the bag is rounded- you can see from the pins in the photo below how to pin it. Sew the bottom of the bag closed. Once you have done this you can trim off the extra fabric in the seam and overlock it if you like. 


Next, pin and sew the "underarm" part of the shirt. 


The next step is to start the drawstring. Fold over about a centimetre or two of the fabric at the top of the shirt and sew close to the raw edge. You shouldn't sew it all closed as you won't be able to insert your drawstring- leave a two centimetre gap over the button piece.  


Make sure when you are pinning your drawstring that you don't sew shut the front pocket. This can be a bit tricky as there isn't that much fabric to work with. However, it is possible to fold the material for the drawstring but avoid the pocket. 


This is what the final bag piece should look like, the drawstring itself will be inserted later. 


Now to begin the front flap. 


Round out the raw edges of collar piece. 


Turn this piece inside out, pin, and sew up the seams.


Moving onto the arms or shoulder straps. 


Turn the sleeves inside out and run a sew up the side. This is to make the sleeves thinner and straighter. As you can see from the photo above the sleeves are rather triangular and not great for straps, this is why this step is necessary.


The two sleeves should now be much straighter with a raw edge at the top.


Fold the raw edges inwards and top stitch over so that sleeves are neat. 


All the pieces are finished and ready for putting together now. 


Attach the sleeves to the top and bottom of the bag. I decided to leave the top of the cuff loose, sewing the sleeve just on the underside at the bottom of the bag. 


Place the collar piece  on the back of the bag and pin it in place, it should be able to fold over the the other side. You only need to attach the flap by about three centimetres on either side of the button piece. 


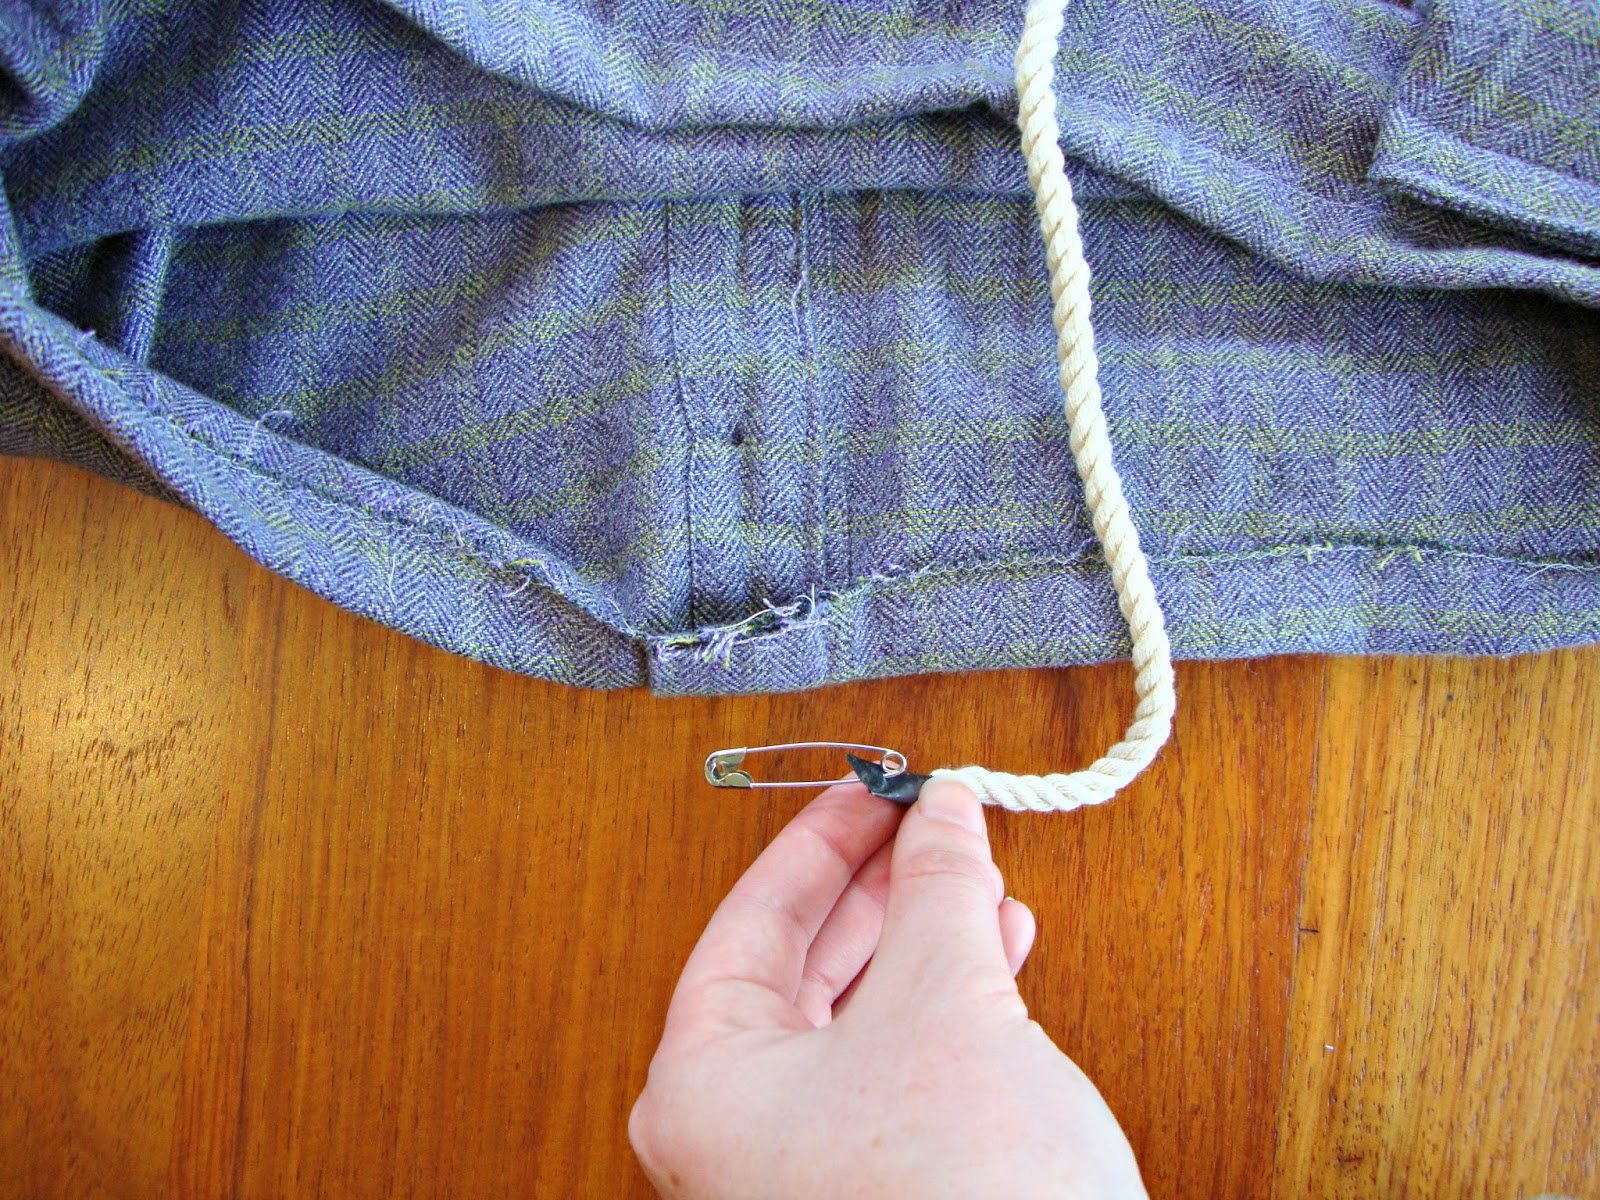
One of the last steps is to put in the drawstring. I taped the one end of my string and used a safety pin as a guide; it is much easier to push a safety pin through the drawstring casing than just the rope. The drawstring needs to go round the casing twice (as it makes it easier to pull it closed) and you should be left with a piece of rope on either side of the casing. 


Finally, sew a press stud on to the front flap to secure it to the bag. 


Love the crazy bag ladies! 


Sunday, 27 October 2013

Teacup Succulents


Difficulty:


Cost:
$5-20


How cute are these!

Hello hello, Ali here. 
I have a confession to make; I'm obsessed with these teacup succulents, I think they're just too lovely!
The obsession started I while I was in a hostel in my first year of university. I was feeling a bit homesick and missing my mum, and having a menagerie of pets around to cuddle. 
So I decided I needed to give a little life to my room, and the best way to do that, of course, was to combine pretty teacups with lively succulents!

The cost of this project really depends on the Op-shops you can find. Pretty English teacups can be found in secondhand shops for anywhere between $2 and $25. The trick is to look around and find a place that has them at a reasonable price, not just but the first pretty trio that you find.


Materials:

Teacup (saucer optional)
Potting mix
Succulent or cactus

Tools:

Spade
Gardening gloves

The first thing you want to do is put some potting mix into the bottom of your teacup.
The amount you put in will depend on the size of your succulent. If your plant is already quite big you won't need much in the bottom, but if it's just little you'll need quite a lot. 


The succulent you use can be a store bought one, you can buy little cacti from gardening and home improvement stores for a couple of dollars. Otherwise if you have succulents in the garden or know of someone who does, just carefully take a few leaves off the plants and place them in the potting mix, broken edge first. 

If you buy an already potted plant, it's important that you loosen the roots before you re-pot it into your teacup. 
Make sure you're wearing gardening gloves for this part, cactus spikes can be mean!


Place your plant into your teacup and carefully fill the rest of the cup up with potting mix.
Make sure you press down on the soil so that the plant is secured and won't fall over. 

And there you have it, an adorable new windowsill adornment.

These wee things make beautiful additions to any room, or make lovely, unique gifts.


As you can see here, my motto with these is definitely the more the merrier!


Happy planting,