
Difficulty:

Cost:
$3 for a frame
I have lovely childhood memories of wandering through my Nanna's wonderfully colourful garden, collecting bundles of pretty flowers and finding endless uses from them.
One of my favourite things to do was press them, because opening the precious newspaper parcel after what seemed like forever was so exciting, and the results were always so delicate and beautiful.
It is spring in New Zealand at the moment, almost summer, and our garden is full of beautiful flowers. So I decided to take a walk down memory lane and press some of these pretty flowers.
Framed, pressed flowers make a lovely gift which is sustainable and personal, coming from your very own garden.

Materials:
Flowers
Picture frame
Paper
Tools:
Chopping boards/books/anything flat and heavy
Newspaper
Scissors

First of all you need to choose some beautiful flowers.
Thin flowers work better than heavy, think ones as they press more completely. Leaving some leaves attached to the stem creates a more natural, full look.
Make sure your flowers are very dry, any water droplets will harbor mould and not press well.
Lay your flowers out on your chopping board or hard surface, making sure the leaves and flowers are positioned prettily and not folded or bent.

Carefully place a piece of newspaper on top of your flowers.

Now place your precious package into your how water cupboard, or somewhere warm and dry, and place a book or anything you have that is flat and heavy on top.

Now it's time to wait.
Two or three weeks is usually enough time, the smaller and more fine your flowers, the less time they will take to dry.

And just like that you have a beautiful bundle of dainty pressed flowers.
Now it's time to frame them.
You can find photo frames at most op-shops for only a couple of dollars, these three cost me $7 all up!

Take the glass out of the frame and place it on top of your piece of paper. Plain A4 printer paper will work just fine, but textured paper or card will look extra special.
Trace around the glass with a pencil.

Now cut the traced rectangle out, making sure you don't crease the paper too much.

Next return the glass to the frame and place your flowers on top, face down.

Now carefully place your paper on top of the flower. If you find the flower is moving around too much, you can use PVA, or a gluestick, to lightly glue the flower to your paper where you want it.
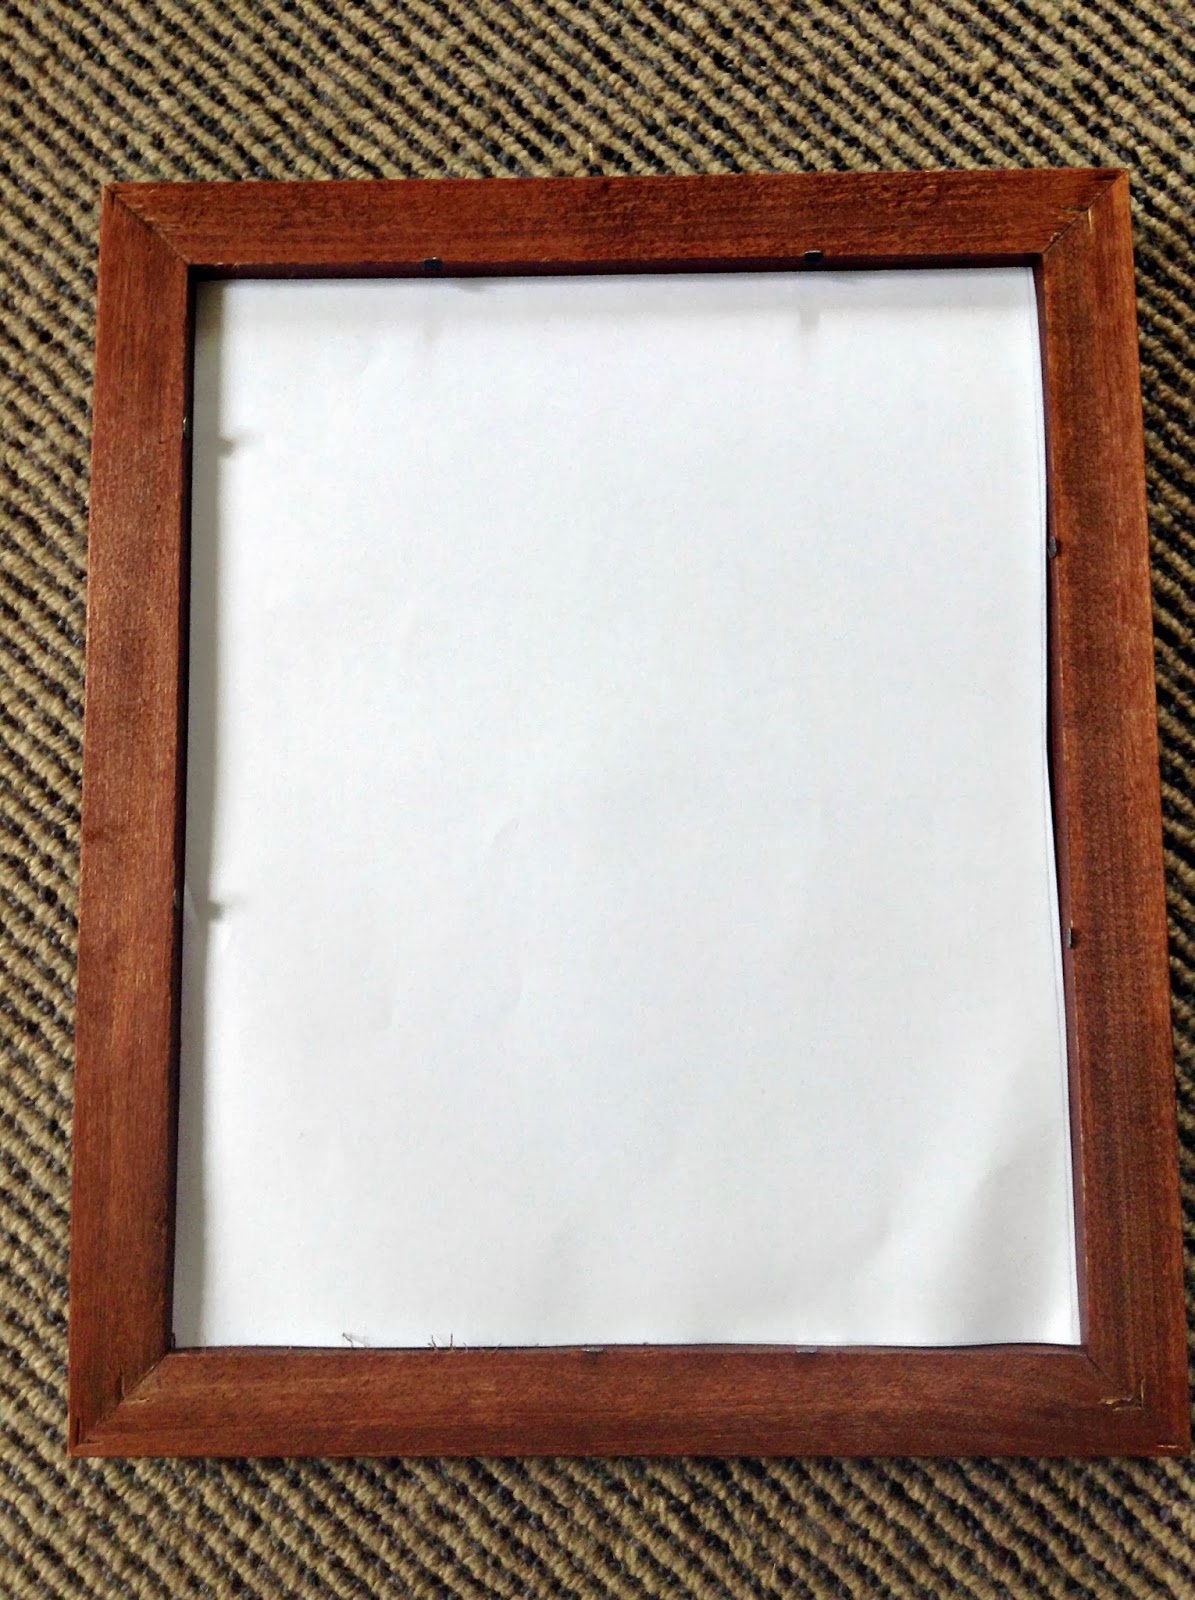
Finally, place the back of the frame on top and close the little metal flaps.

You're all done!

These look lovely in little bunches and make beautiful gifts.
You could personalize them further by writing the name of the person you are gifting them to on the bottom of the piece of paper so it shows up at the bottom of the frame.

Happy flower picking!


