Pages

Sunday, 7 July 2013

Dress --> peplum top

Difficulty:


Cost:

Dress - $4
Zipper - $3

Hello again, Ali here. 
Amy and I are still away from Dunedin in our respective home towns, enjoying our last bit of time at home before university starts again tomorrow.
We thought that we would dedicate this month to one of our favourite past times, op shopping! Every week this month we are going to post a tutorial showing how to alter various pieces that you can typically find while thrifting. As well as this, keep an eye out for our how-to guide to op-shopping!
I have been busily scouring second hand shops for gems and projects, and absolutely fell in love with this dress.


I love the pretty floral fabric, and there's so much of it!
It also fits me pretty well, so I've decided to make a top and skirt from it.
In this post I'll show you how to make a wee peplum top out of this vintage dress. 
Peplum is a super flattering shape, nipped in at the waist and flared at the bottom, ideal for those days when you need to eat a lot.

Materials:

Vintage dress
Zipper

Tools:

Scissors
Sewing machine

Start by cutting the dress in half at the waist seam. Make sure the remaining top part is the length you want the fitted part of your top to be.


Next I cut the sleeves off the top. 
To do this I put the top on and pinned a line from the shoulder seam down to the underarm. You might need to get a friend to help you with this, especially when pinning the line down your back. 
Having the top on while I decided where to cut meant I could make the sleeve exactly how I wanted it, and tailor it to my body shape.


Then cut down your pin line, cutting on the sleeve, not body, side of your pins to give you a seam allowance.


Then you have a cute wee sleeveless cropped top.


If you're lucky the vintage dress you have will have a front that you like and you can skip this next step. However if you, like me, want to change the front of the dress this is one way you can do it.
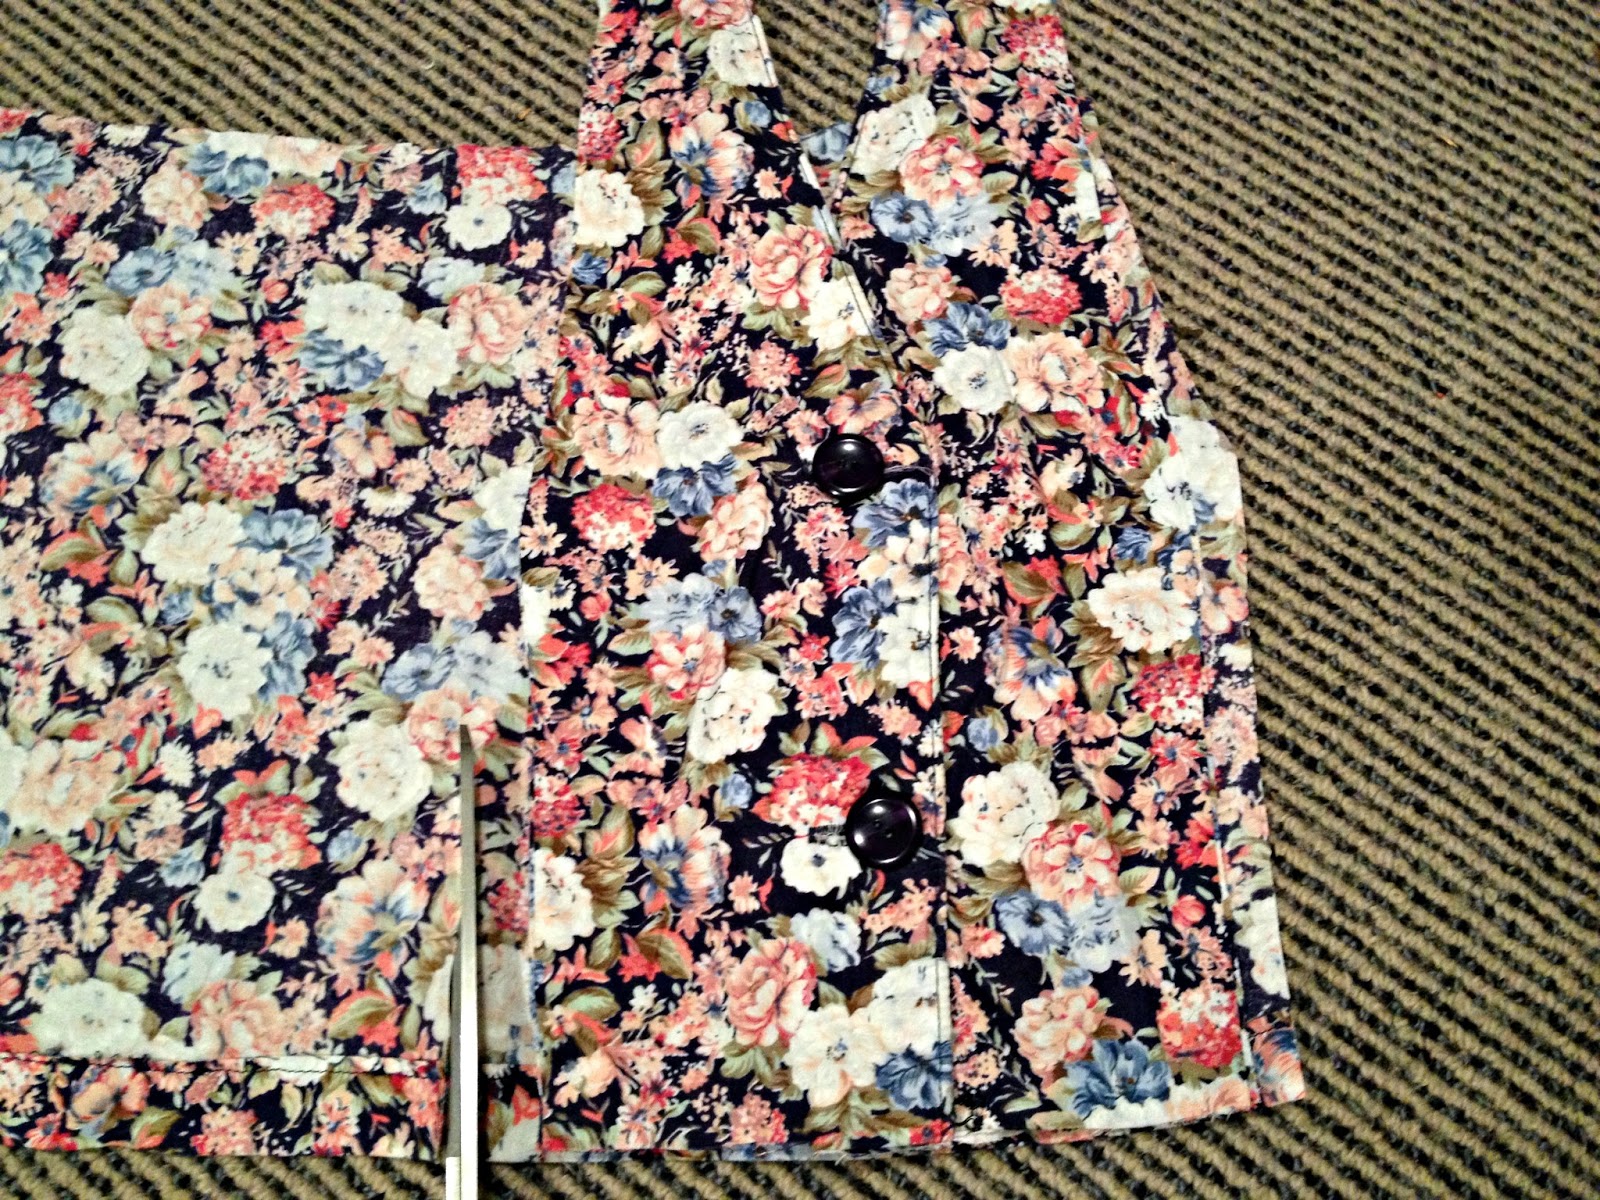
I wanted a round neck, not a v, and wanted to get rid of the buttons down the front. So I used the same method as I used to remove the sleeves and removed the middle of the front of the top. I put the top on and pinned a line from the neckline to the bottom and cut the front of the top out. 


I then used this cut out front piece to draft a new piece to create the neckline I wanted. 
You can see below that I used a piece of the skirt fabric and laid the cut out top piece on top of the fabric and cut a matching piece. I then cut a round neck on my new pattern piece, which fit perfectly into my remaining top as it was the same shape as the original.


I then pinned my new pattern piece in place on the front of the top and sewed the two side seams.
After this I unpicked the side seam under the right armhole and inserted an invisible zipper.


Next I made the peplum piece.
Using fabric from the skirt, I cut a length of fabric which was 6'' wide and 65'' long.
I sneakily used the bottom of the skirt which was already hemmed so that I didn't have to hem it myself.


I then cut this length of fabric in half so that I had a front and a back piece. 
I gathered the top edge of both pieces so that they fit onto the bottom of my top.
To do this I first measured the front of the top. I then sewed a basting stitch along the unhemmed edge of the front rectangle and pulled the bobbin thread until the piece was the same length as the front of my top. I then distributed the ruffles evenly along the piece and did the same for the back piece.


Finally I pinned the two pieces to the top, and sides of the zipper and sewed them on.

And there you have it, a cute new peplum top, yay!


Happy pepping!


Saturday, 29 June 2013

Fluttery Florals


Cost:
$3 for material and beads
$5 for headband

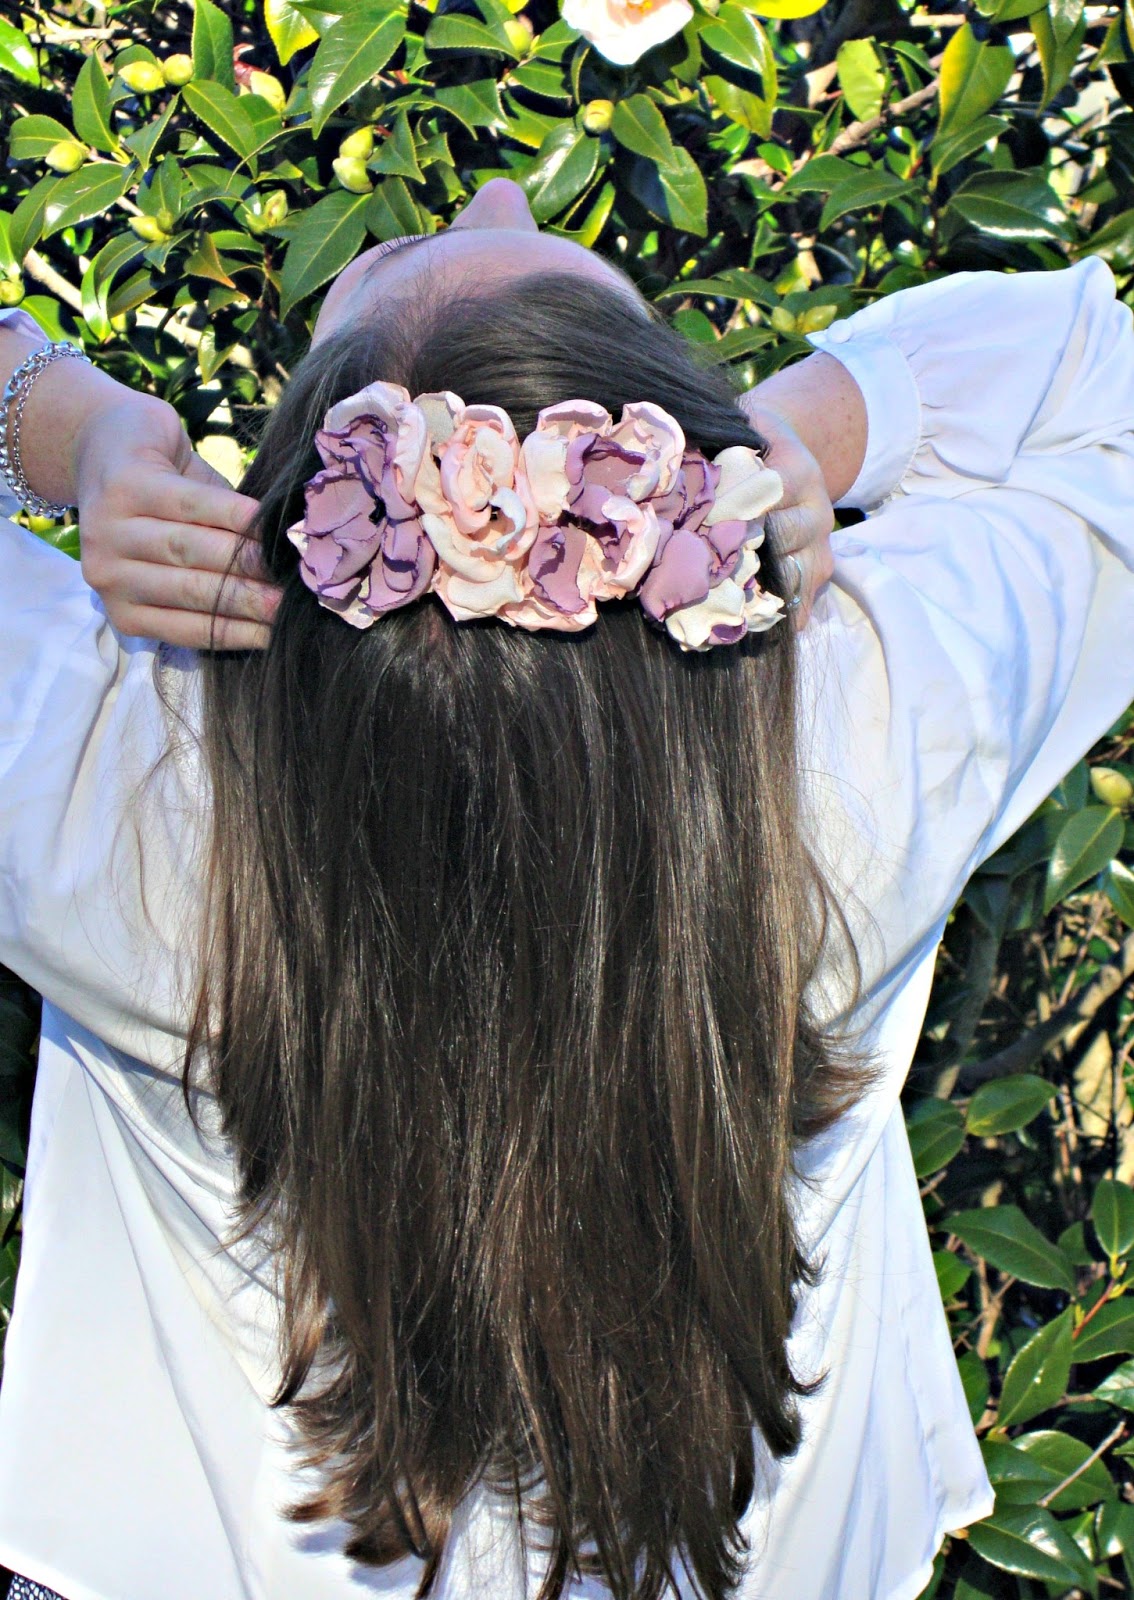
Amy here, I had so much fun making these beautiful flowers even though I must have burnt my fingers about a million times. These are really quite simple to make once you have the technique down. Fortunately I did all the experimenting for you so I now know the best way to make these gorgeous flowers. I have chosen to add my flowers to a headband to make a floral crown but the opportunities are endless with these flowers. I think they would look amazing on a small bag or as a pin, even just to brighten up a room. 

Materials:
Fabric-  it must be 100% polyester or else your flower petals won't melt properly. I have used a selection of fabrics, the top pink is a chiffon, the middle lilac is an acetate and the bottom pink is a lining fabric. The fabric must also be very light, a chiffon is perfect, as is the lining. 
Beads
A headband


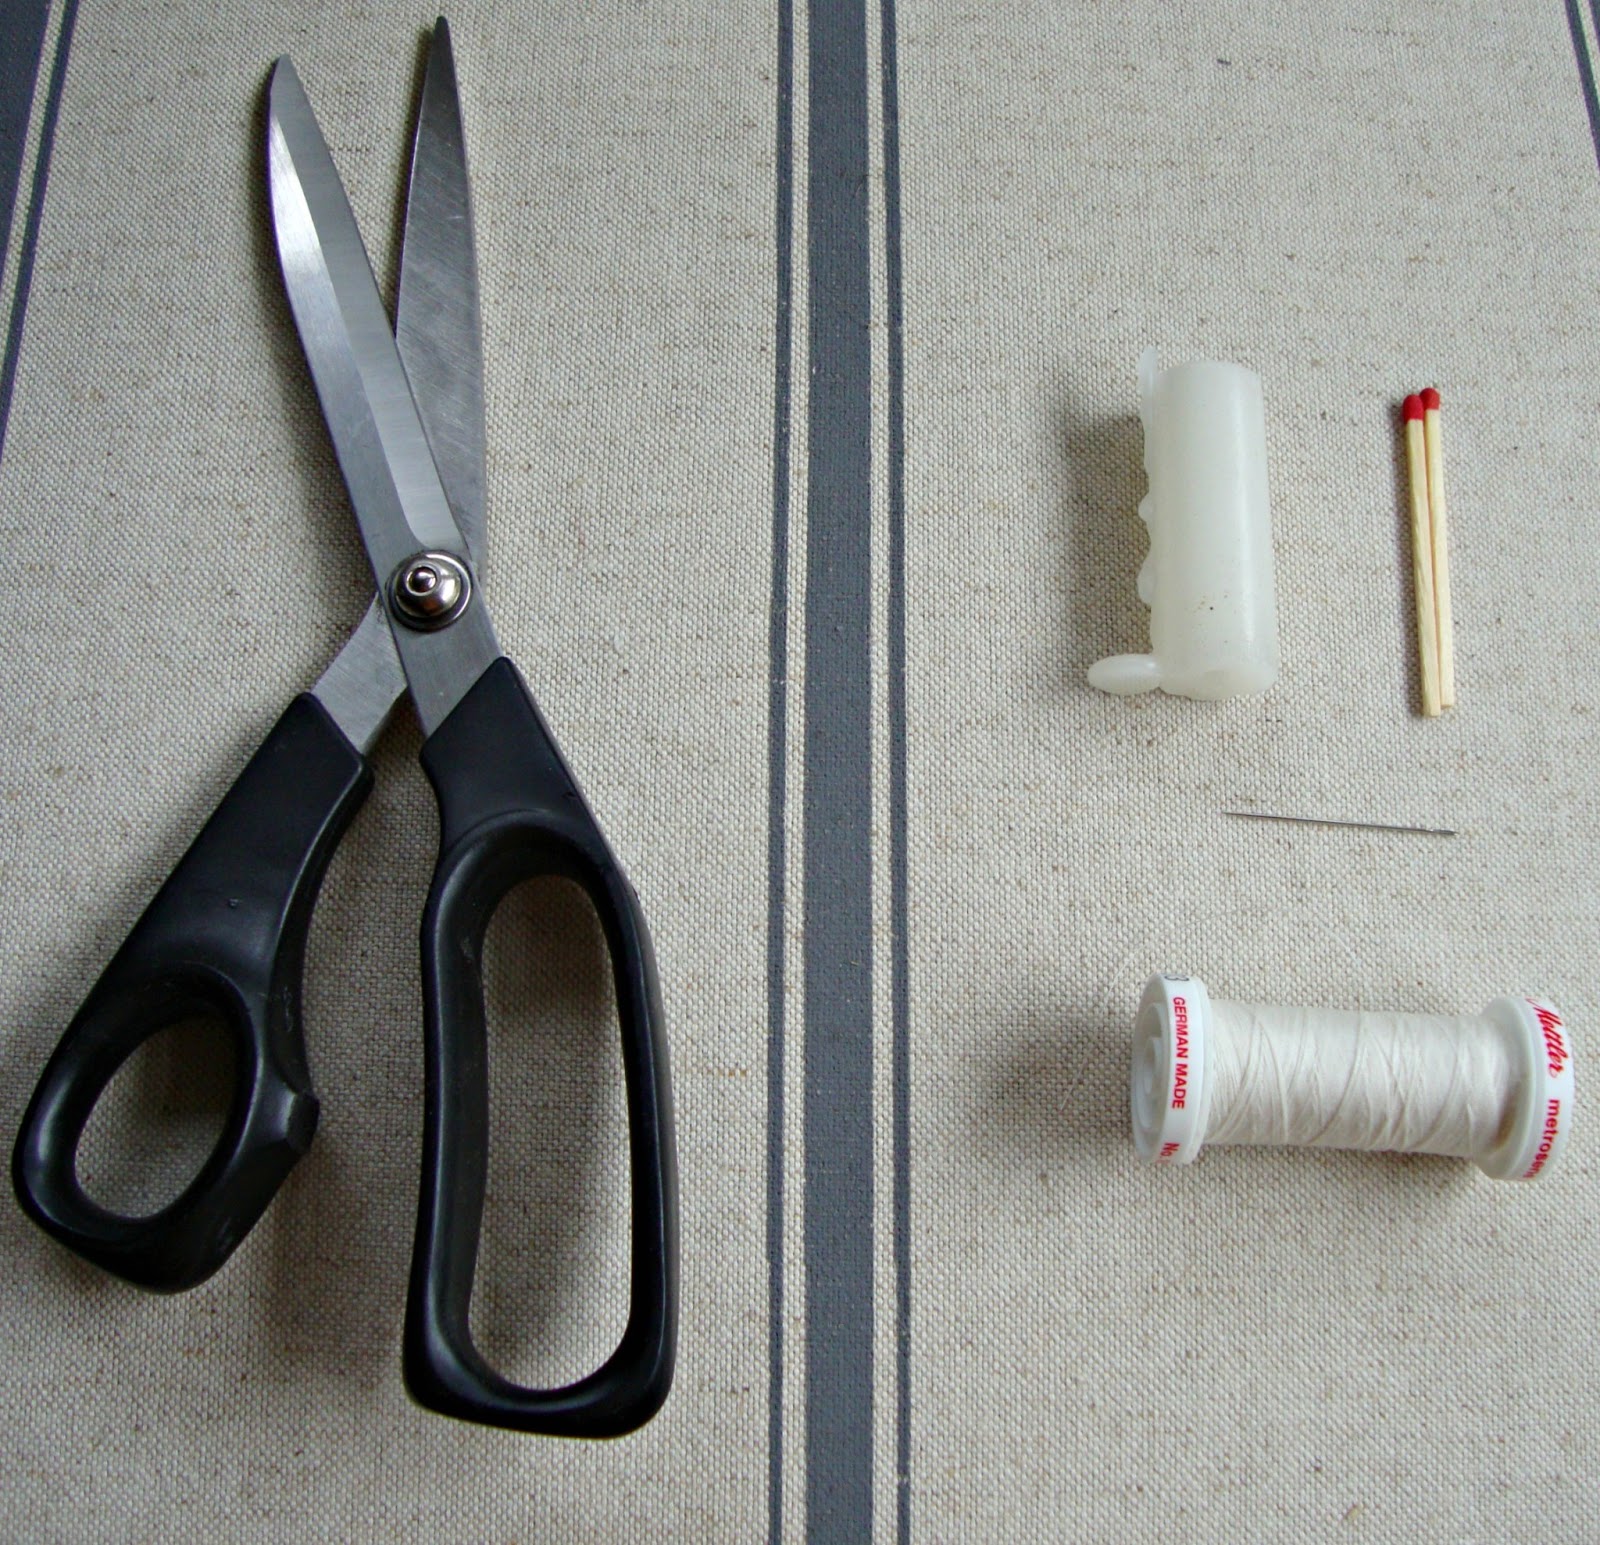
Tools:

Scissors
A candle
Matches
Needle and thread
Glue gun


Method:

Begin by cutting circles out of your fabric. I cut three circles for each flower I wanted to make. These don't have to be too perfectly round. 


Next, snip into your circles at four even points, almost to the middle.


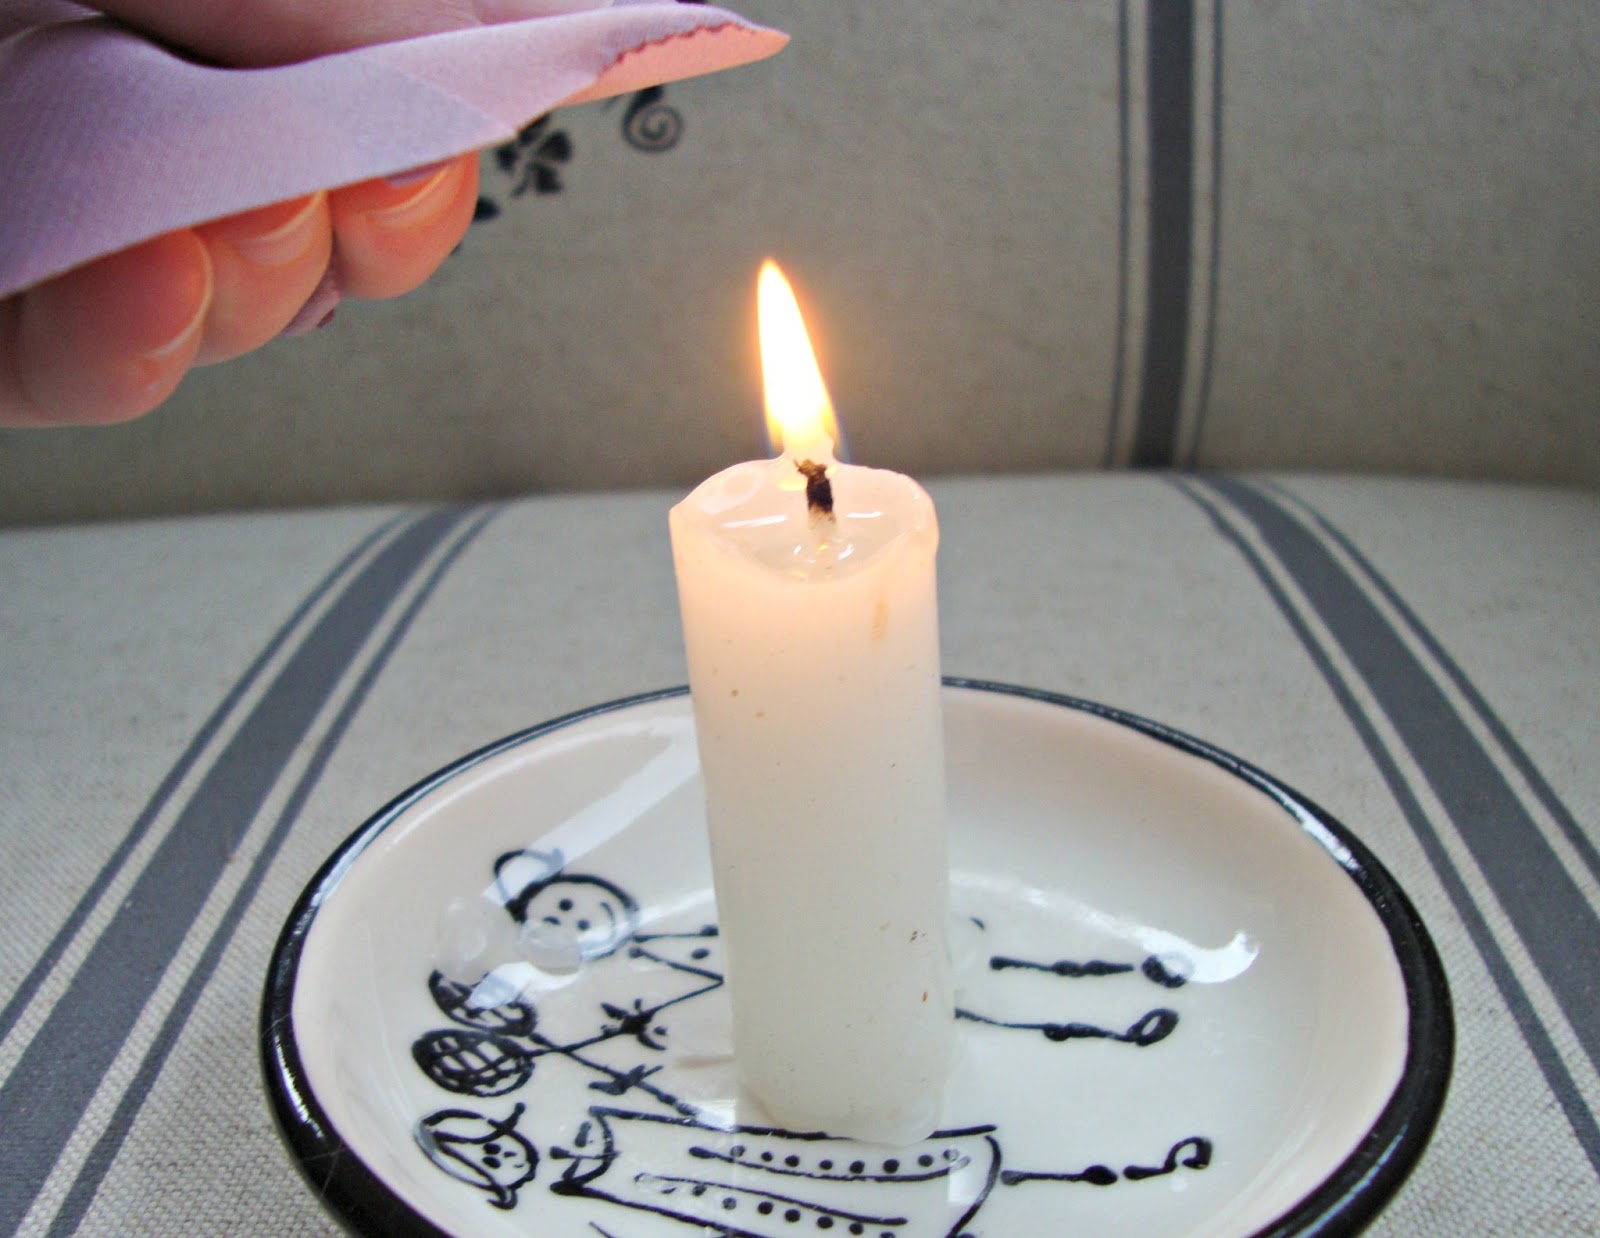
This is where it gets a little tricky. Light your candle and take one of your cut circles. Separate out each of the pieces of your circle and one by one "burn" the raw edges. I say burn but that's not really what you are wanting to achieve here, although I did achieve this, more than once. In the picture below you can see that I'm holding the petals slightly above the flame, this won't burn it but it will melt the polyester slightly and it will curl, giving your petals a perfect edge. 


You can see in the picture below how the heat from the flame is slightly melting the material but not burning it, it is just beginning to curl and fold. This technique will take some practice to get right but it is worth it. 
Make sure that you do this in a well ventilated room, I didn't and the fumes from the melting fabric gave me a bit of a headache. I would also recommend doing this on a sturdy surface, like a bench top, not a chair as in the picture below. 


Lay out your petals in the order that you would like them. 


Place your petals on top of one another. I ensured that I had the smallest petal on top so my flower would look nice and even. I also tried to have the petals evenly spaced and made sure they weren't right on top of one another. 


Sew the three lots of petals together, right through the centre of the flower. 


Sew your beads into the middle of the flower. I tried to get mine overlapping and piling up on one another for a more organic look.


 You're finished! Make as many flowers as you would like. 


One last step...


Using your hot glue gun, glue the flowers onto your headband.


You have a beautiful floral crown! 
Wear your floral headband with bare feet and a floaty dress for an extra whimsical effect.


Embrace your inner hippie! 


Friday, 28 June 2013

My Favourite Furry Family

 Hello there, Ali here! The time has come for me to tell you a little something about my lovely home in little old Rongotea. 

It's the university holidays at the moment, so Amy and I have ventured up the country to our respective homes in the North Island.

Last week Amy shared with you some of her favourite things here, and I've been spending the past few days wondering what to tell you about in this little section. Happily, after some pondering, I realized that the answer was sitting right on my lap! 

The thing I enjoy most about being home and miss most while I'm at university in Dunedin is, of course, my family members. 
You've already met my lovely mum in our mother's day post in May, so I'm going to introduce you now to the rest of my colourful family, weee!  


This is the ever lovely Aiko. 
Meaning "love" in Japanese, Aiko distributes hers in a sparing and on her own terms manner. Being so very pretty everyone always wants to cuddle her, but she has a quite strict "out of arms reach" policy. 
Luckily this policy generally doesn't apply to me and here she is staring lovingly (sort of) into my eyes from her favorite spot, on the end of my bed. 


Next up is Kuni. Sister to Aiko, and named for her likeness to a Kune Kune pig in both colour and eating habits, Kuni is the self appointed king of our castle. 
Here she is making a belly shaped dent in the top of mum's soft top car, much to mum's contempt.


These two are ever so helpful with anything craft related, particularly if it occurs on the floor or involves paint. Aiko, like many cats, enjoys sitting in the single least helpful position possible. You're lucky this post makes any sense at all because she has been trying to settle on my keyboard for the past half hour. Cats. Kuni is less passive aggressive, more aggressive, her party trick being that she will pull sewing pins out of my pattern pieces with her teeth and run around with them in her mouth, mewing victoriously. 


Next up and not to be forgotten is Hunter, the gentle pooch. Having made his blog debut here last week, he has proven to be a highly photogenic hound. German Shorthaired Pointer by breed, Huntey was destined to become a drug sniffer dog at the airport, but was soon found to be lacking in maturity and restraint. Thus he was rescued and has since become a beloved member of our family, now a bit more dopey and grey around the chops. 


And it doesn't end there! We also have four clucky chooks in our back yard; the taller one is my mum, proudly holding our bantam's first green egg!


So there you are, a little taste of my home life via a cacophony of furry and feathered friends.
All in all they make for a bundle of laughs and, at times, a great need for coffee!


 So here's to home comforts and happy days,


Saturday, 22 June 2013

These are a Few of my Favourite Things...

Ali and I are both home at the moment and it is fantastic! We were both fortunate enough to make it home just before one of the worst winter storms in 20 years hit New Zealand. Luckily, we could fly to our North Island homes, no problemo, but some of our friends have been stuck in Dunedin, their flights delayed or cancelled by heavy rain, gale-force winds and snow flurries down to sea level!
Needless to say, Ali and I are super glad to be in our warm homes with all this going on and so we thought we would do a post each about our five favourite things from home. I am going first this week, and Ali will do the tutorial and next week we will swap.


1) Baking and Tea

When I go home I love to bake. There is an endless supply of ingredients and I don't have to pay for them; thanks Mum!  Being home for me is all about the small luxuries, using the best tea set or erring on the side of extravagance with the butter and jam.


2) Cosy places to read and endless cups of tea

Mum always stocks up on books for me before I come home and I love to spend my days curled up somewhere reading, keeping multiple cups of tea on the go at once. This is one of my favourite places to read, I can snuggle up here all day long. 


 3) My bedroom

This is my room and I think it's super cute! I have amazing views across the valley and I get wonderful afternoon sun. If you look closely you can see my electric blanket control. I would have taken a photo of this as my all time favourite thing about home but it wouldn't have made as pretty a picture. 


4) Baths

This one is obvious. Who doesn't enjoy a steaming hot bath with a good book on a cold winters night? I'm currently reading "Freakonomics" and I can't believe I haven't gotten around to reading it sooner, it is so good. 


5) Sewing corner

This is my mum's sewing corner and it is brilliant. It has everything you could need stocked away in the cupboards, endless amounts of fabric and threads of all colours. On the table is a shirt that my mum is currently working on. 

We hope all our New Zealand readers have managed to keep warm and safe over the past few days!